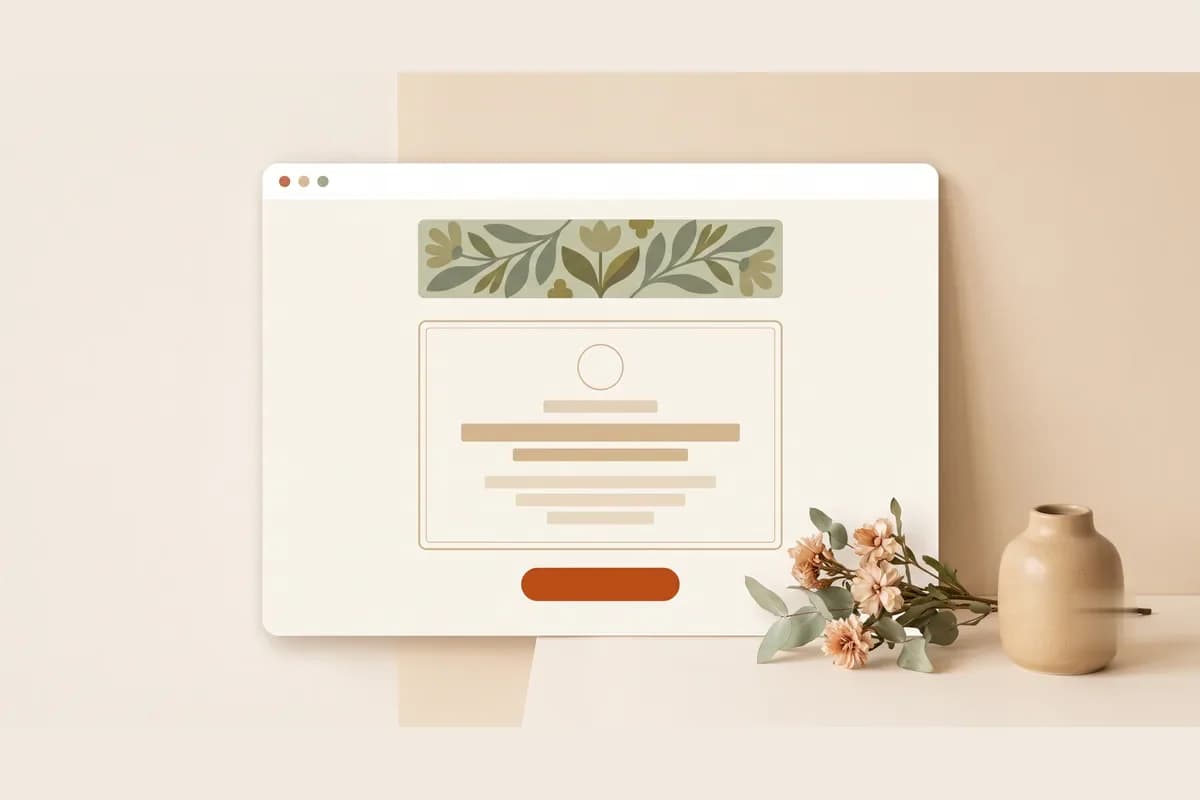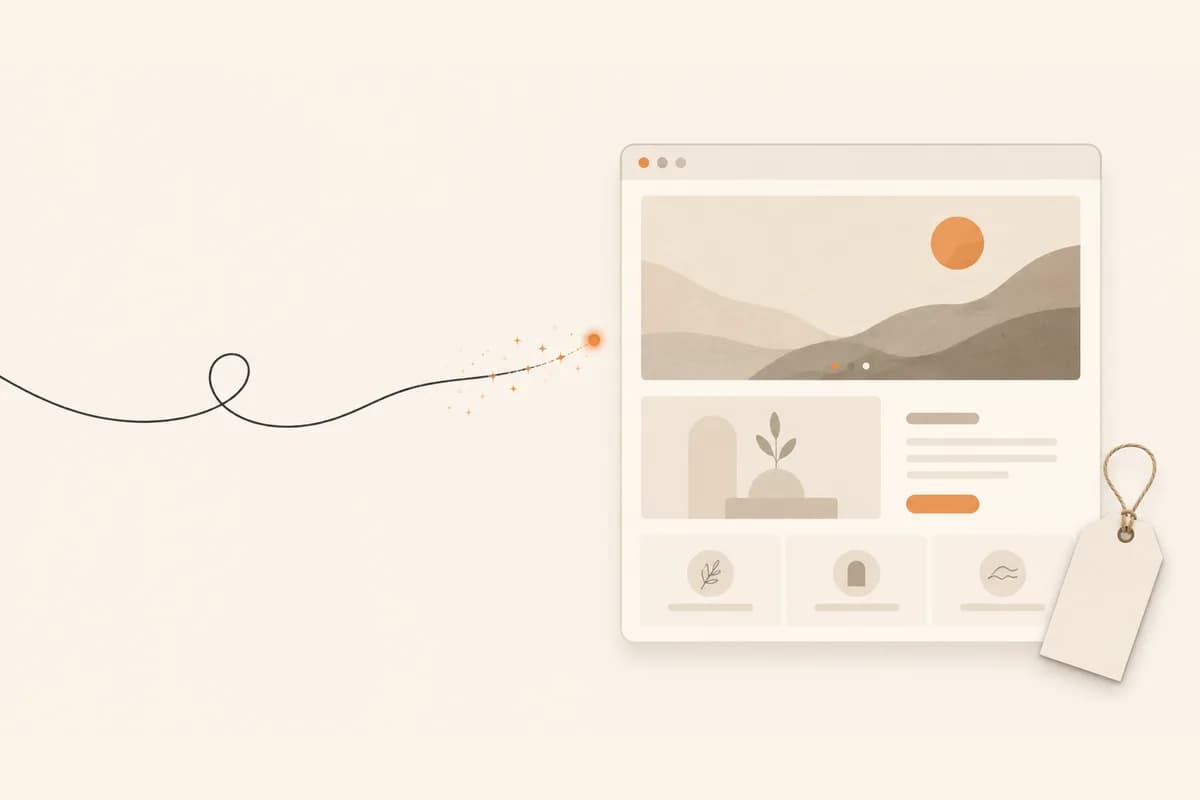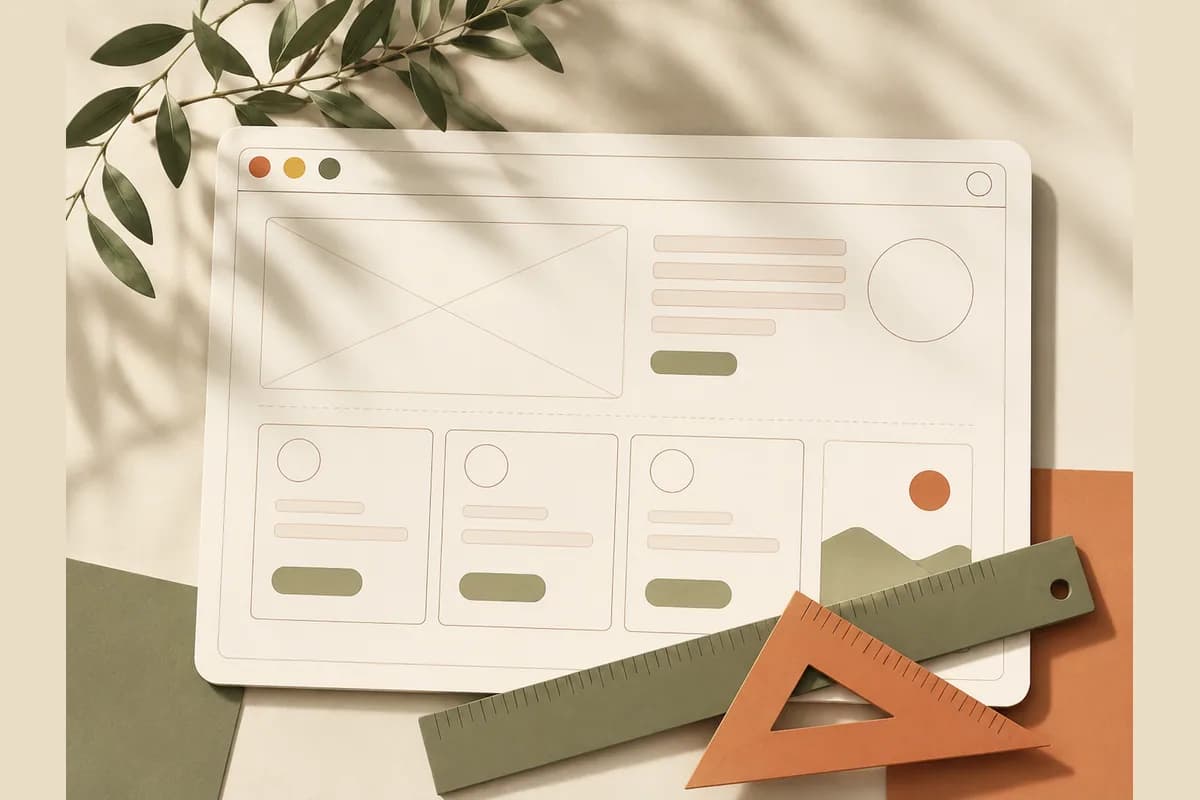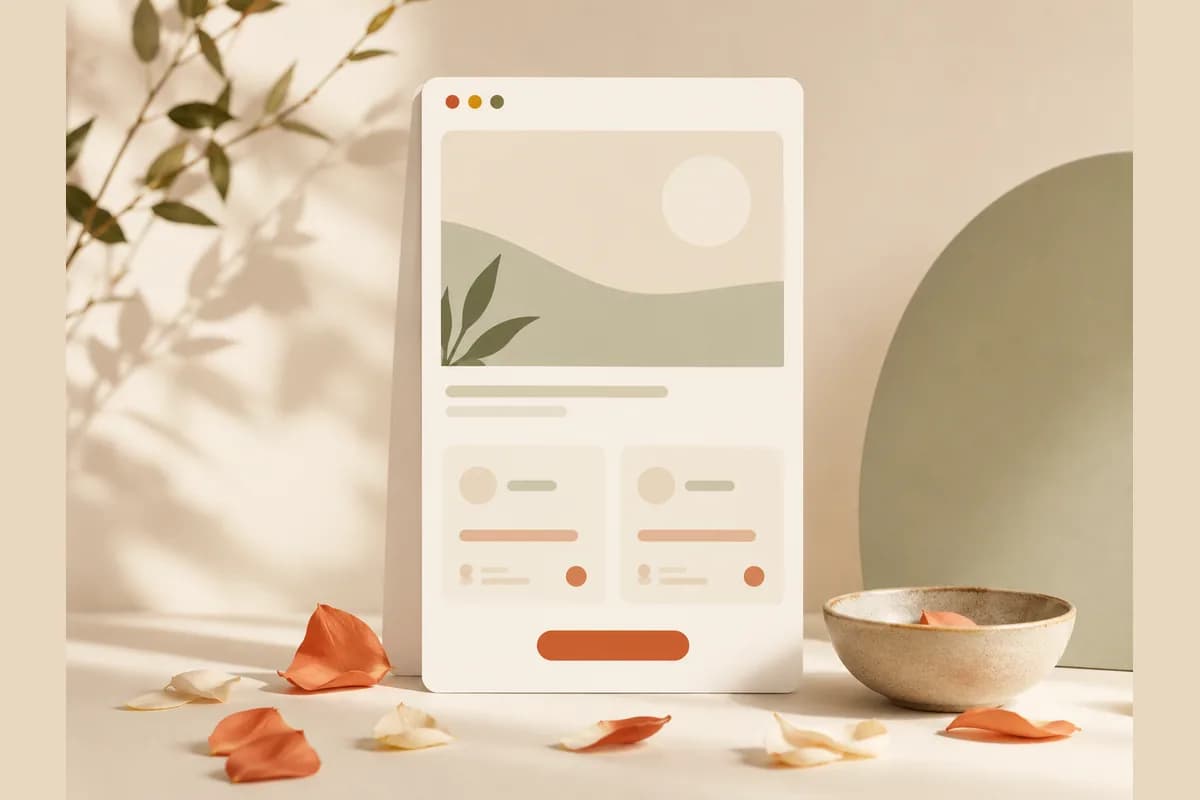
Paper invites are fading fast, and learning how to make a digital invitation website turns out to be far easier than most people expect. Instead of blasting one static image into a group chat, you get a clean page with its own link: the couple or event name, a countdown, a map to the venue, a photo gallery, and an RSVP form whose replies land right on your phone. This guide covers what belongs inside one, how to build it from scratch, and an honest cost estimate for every route.
The good news is you don't need to be a designer or write a line of code. The better news is that you have several paths, from completely free to fully custom, and each has its place. Let's break them down so you can pick the one that fits your event and your budget.
Why a website-style invitation is winning
A digital invite that's just an image or video has clear limits. If the info is wrong, say the time shifts or the venue moves, you have to remake it and reshare it. Guests also lose the file among thousands of other messages.
The website version solves that. Because it's a living page on a single fixed link, you can update the content anytime without disturbing guests who already saved it. Everything your event needs sits in one place: the date, the venue with a button straight to Google Maps, the schedule, even gift details. The impression is different too. A clean page that moves smoothly feels more considered than a single JPG poster.
Tip: Before you start, ask yourself one thing: does your event need RSVPs and info that might change? If yes, the website format is almost always the better fit than a static image. If the event is very simple and locked in, a plain graphic might be enough.
What a good digital invitation website includes
Before you build, decide what goes in. An invitation site that feels complete usually has these elements:
- A header with names and date. The very top that tells guests whose event this is and when, often with a countdown.
- Event details. Time, run of show, and dress code if there is one. Weddings often split the ceremony and reception.
- Location with a map. The full address plus a button that opens Google Maps, so nobody gets lost.
- An RSVP form. Guests confirm yes or no, and ideally their reply routes straight to you.
- A gallery or story section. A few photos or a short story to warm up the mood.
- Gift or registry info. A payment link, QR code, or wish list for guests who can't attend.
- A guestbook. A field for guests to leave wishes and messages.
Not every event needs all of it. A seminar just needs the date, location, and RSVP. A wedding usually uses the full list. Pick what you need, and don't cram in sections just because you can.
How to make a digital invitation website step by step
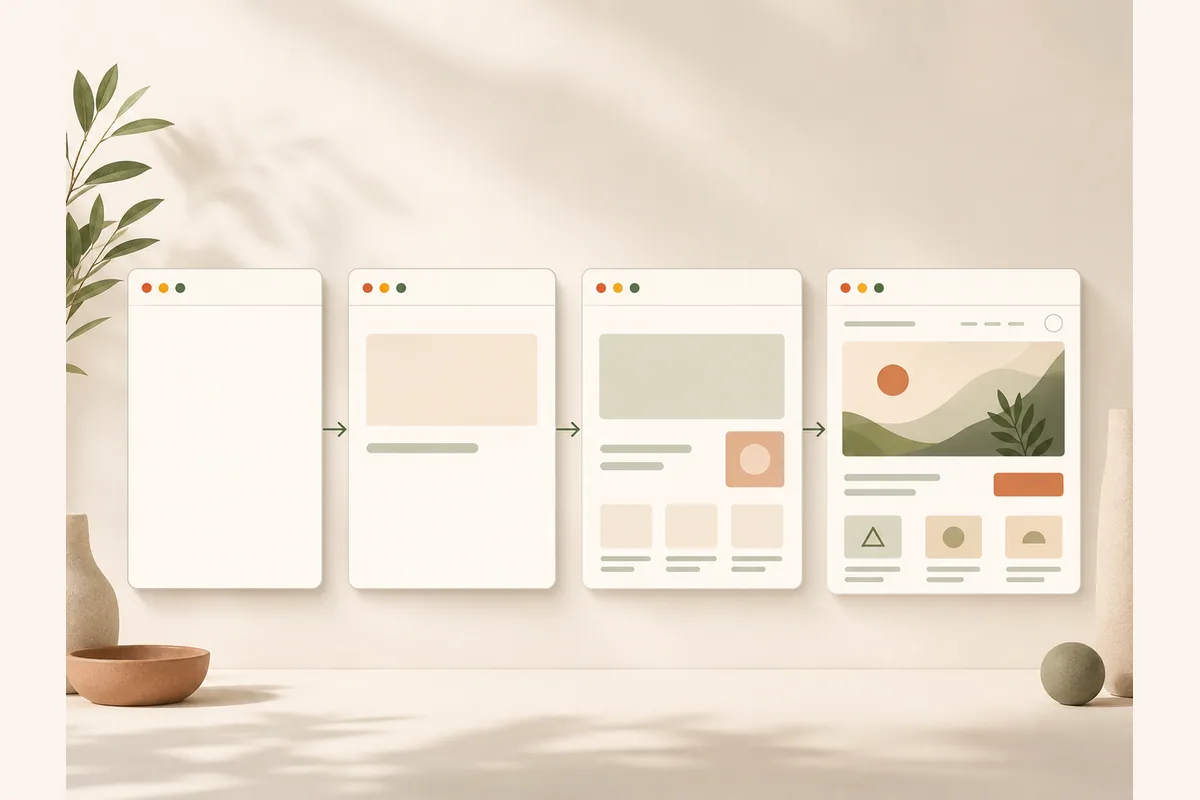
Here's the core. The fastest way to build one today is with an AI website builder, and the flow is just five steps.
1. Gather your material first. Get your text ready (names, date, run of show), three to five of your best photos, the venue address, and any gift details. Prepping this upfront makes the rest smooth.
2. Describe your event. In an AI builder like Forgelo, you type one sentence about your event, for example "a wedding invitation for Ana and Sam, ceremony October 12 in Portland, warm cream and sage green tones." The invitation site is generated in a few minutes, complete with a sensible section layout.
3. Refine by prompt. This is where the difference shows. To change anything, just type the instruction. "Switch the colors to navy and gold." "Add a countdown to the event date." "Move the photo gallery below the event details." No design software, no waiting on anyone.
4. Connect the RSVP to WhatsApp. Add the RSVP form, then route every confirmation straight to your WhatsApp or inbox. You don't log into a dashboard just to check who's coming, the notification lands where you already reply.
5. Publish and share. Ship it to a free subdomain, copy the link, and send it to your family and friends. If you want it more personal, connect your own domain. If that part is new to you, a short read on what a website domain is helps.
Note: The real strength here isn't build day, it's how easy edits are. Time slips an hour? Change it in a minute. Venue moved? Update it, and every guest who already saved the link automatically sees the latest version without you resending a thing.
Cost estimate for a digital invitation website
Now the part everyone waits for. Cost depends heavily on the route you pick. Here's a typical market picture, not exact figures, since every provider differs.
| Route | Cost range | Best for |
|---|---|---|
| Free template platform | $0 | Simple events, zero budget, uniform looks |
| Subscription template platform | A modest fee per event | Speed with ready-made templates |
| Custom invitation service | A few hundred to a few thousand | Hands-off, unique design |
| Build it yourself with an AI builder | A low monthly subscription | Full control, reusable, custom domain |
| Full custom developer | Thousands and up | Complex features or a large branded event |
The sticker price is tempting to compare at a glance, but look at the total. Subscription platforms often bill per event, so if you host a few events a year, it stacks up. Custom services look polished, but every small revision usually adds a fee or a wait in the queue.
Building it yourself with an AI builder is appealing because the cost is predictable and the site is yours. One subscription covers the build, unlimited edits, and hosting. You can check our pricing for real numbers. If your budget is genuinely zero, the free route is still valid, and we cover it in our guide on making a free website.
Digital invitation website vs a service or platform
This is the choice that trips people up most, so let's be honest about both.
Dedicated invitation platforms and custom services have real strengths. They give you templates built specifically for weddings, with features like guest-list management, background music, and animations tuned to the occasion. If you don't want to think about anything and just want a finished result, this route makes sense, especially for a once-in-a-lifetime event.
On the other side, building it yourself with a website builder gives you two things a service doesn't always: full control and reuse. You change anything yourself, anytime, without paying per revision. And the site doesn't expire after the event, you can recycle the skeleton for the next one.
Here's a slightly contrarian take: for a lot of people, you don't actually need a dedicated invitation platform. A clean page with an RSVP that routes to your phone covers about 90 percent of what an event needs, at a lower cost and without being locked into a template that looks like hundreds of others. The fancy features of specialized platforms are nice, but most guests only need to know when, where, and how to confirm. If you genuinely want high-end animation flourishes typical of the invitation industry, a specialized service still fits better, and that's fine.
Mistakes that make a digital invite look cheap
The format can be slick, but a few traps make the result feel careless. Avoid these:
- Heavy, pixelated photos. The site loads slowly, especially on weak signal. Compress images before adding them.
- Too many colors and fonts. Pick two main colors and one typeface. Restraint reads as expensive.
- A location with no map button. Writing just the address makes guests work. Always include a Google Maps link.
- An RSVP that goes nowhere useful. If confirmations don't land where you check, the RSVP is pointless. Make sure it flows to WhatsApp or somewhere you monitor.
- Forgetting to test on mobile. Nearly every guest opens from a phone. Check the small-screen view before you share.
If it's your first time and you want to practice, reading the basics of making a free website gives you a safe warm-up before the real invitation.
Digital invitations aren't just for weddings
Finally, don't box this format into weddings only. The exact same way to make a digital invitation website works for many events. Seminars and workshops need RSVPs and venue info. A store grand opening needs an eye-catching page with a map and hours. Birthdays, gatherings, and school reunions all fit the same format.
For business owners, it's also a cheap way to spin up a professional-looking event page without hiring anyone. Invite customers to a product launch, collect signups through the RSVP, and watch confirmations from your phone. Only the content and mood change, the engine stays the same.
The bottom line: how to make a digital invitation website today is as simple as describing your event, tidying it up by prompt, connecting the RSVP to WhatsApp, and sharing the link. Start free if you're unsure, or go straight to a builder if you want full control and a result you can reuse. What matters is that the invitation actually goes live and reaches your guests, not that it stays a plan in your head.